You can manually create a timesheet for any Client or Candidate in the ‘Timesheets’ section of the system or on the ‘Timesheet’ tab on the Client or Candidate profile.
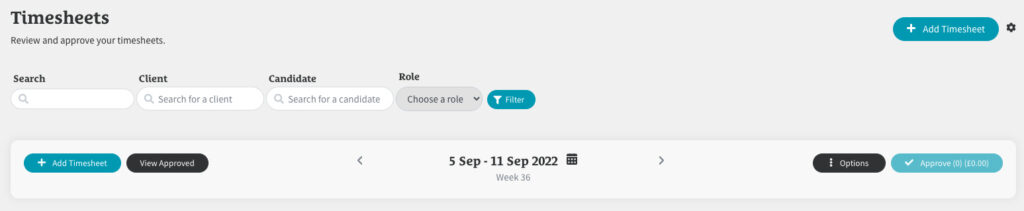
Click on the ‘Add Timesheet’ button on the right hand side of the screen to get started.

You’ll then need to add the details for the Timesheet you are creating.
1. Add The Timesheet Details
Start on the grey panel on the left and type the name of the ‘Client’ into the ‘Client’ input field.
As you type, a dropdown menu will appear showing all the Clients in the system that closely match what you are typing.
Select the ‘Client’ and you’ll notice the ‘Location’ input will turn white. You will now be able to select the ‘Client Location’ from the ‘Location’ dropdown menu.
Next select the ‘Role’ and ‘Shift Type’. If there are no ‘Roles’ or ‘Shift Types’ listed, you will need to create them before you can create a Timesheet. See ‘Recruitment: How To Create A Role & Shift Type For Timesheets’
Next you’ll need to add ‘How Many Staff ‘(Candidates) you would like to assign this Timesheet to. If you are just creating one Timesheet for one Candidate, just add ‘1’ into the ‘How Many Staff ‘ input field.
You then need to add the ‘Start Date/Time’ and ‘Finish Date/Time’ of the shift.
Next you have the option to add a ‘PO Number’ or to add any ‘Breaks’ that need to be included.
2. Assign Your Candidates
Once you’ve added the number of staff required in the ‘How Many Staff’ input field, you’ll notice that this number will appear next to ‘Candidate(s)’ on the main screen on the right, along with this amount of grey ‘Not Assigned’ blocks.
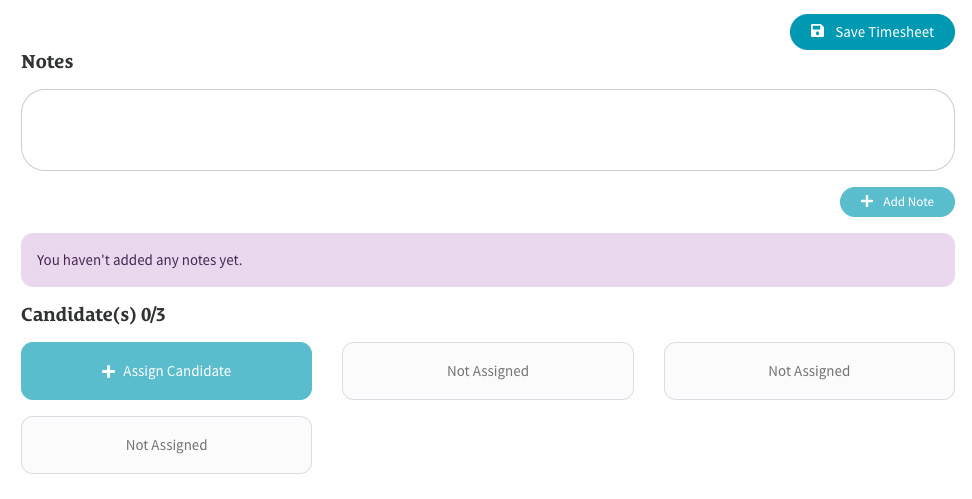
Click on the ‘Assign Candidate’ button to then add the Candidate(s) you’re creating this Timesheet for.
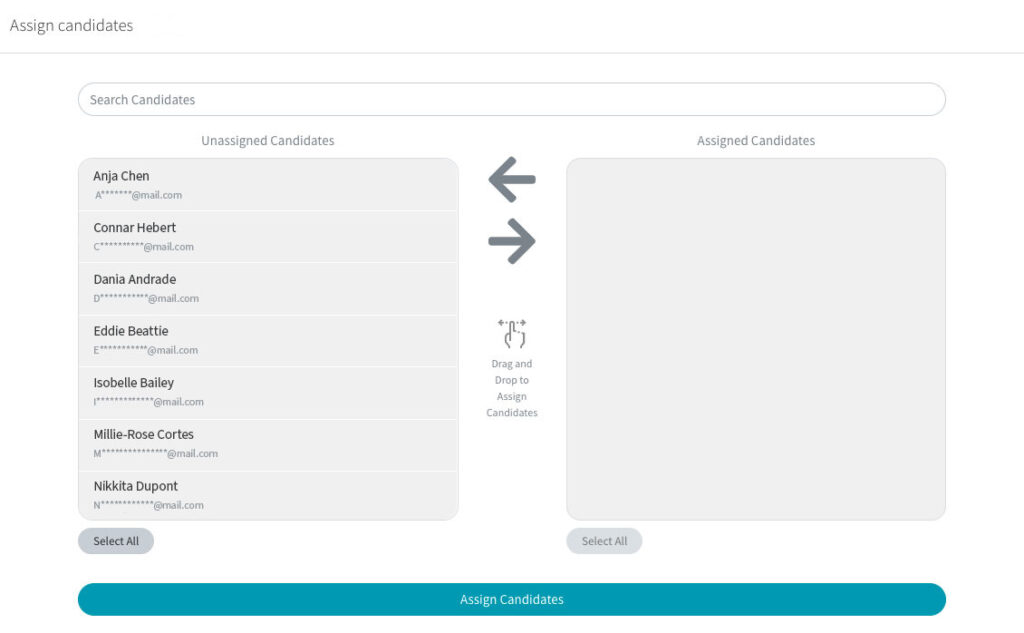
Select or search for the Candidates you require and then drag and drop them over to the ‘Assigned Candidates’ grey panel.
Click the ‘Assign Candidates’ button when finished and the chosen Candidates will now be added to the grey blocks on the main screen.
3. Copy Timesheet To Other Days
On the grey panel on the left, underneath where you’ve just added the Timesheet details, you’ll then have the option to copy the entire Timesheet and details to different days.
This saves time if the Candidate(s) you are creating the Timesheet for has worked the same Role for same Client for the past week for example, and all the same details apply.

Toggle the switch on the ‘Copy to other days’ panel and select from the calendar which dates you’d like to copy this Timesheet to.
4. Add Any Additional Costs
Next if there are any Expenses, Deductions or Corrections to apply, toggle the ‘Any Additional Costs’ switch to add these to the Timesheet.
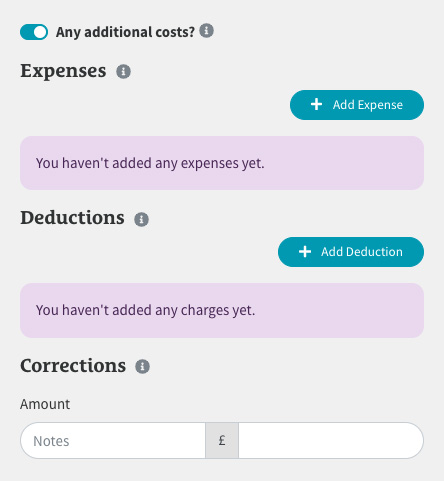
Click on the ‘Add Expense’ button if you would like to add any Expenses.
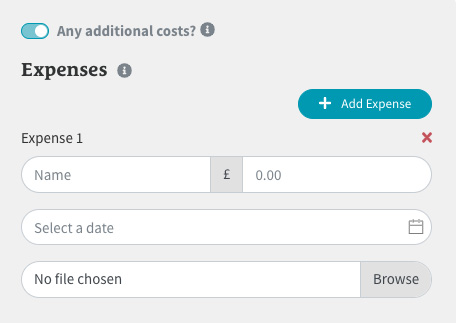
Fill in the details and press the grey ‘Browse’ button to upload any evidence, receipts or invoices.
Repeat this for step as many times as needed or click the ‘Red Cross’ to delete an entry entirely.
If there are any Deductions for things like any fees, penalties or fines, click on the ‘Add Deduction’ button.

Fill in the details and press the grey ‘Browse’ button to upload any evidence, receipts or invoices.
Repeat this step for as many times as needed or click the ‘Red Cross’ to delete an entry entirely.
If you need to make any Corrections to deduct any costs or increase the pay allocated to the Timesheet, add them to the Amount input field below ‘Corrections’.
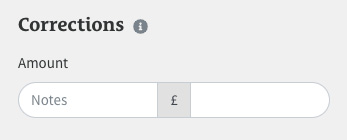
Make sure you add a note explaining the reason for the Correction.
5. Add Any Notes
At the top of the main screen on the right hand side, you have the option to add any ‘Notes’ that apply to the Timesheet.
Type your Notes into the input field and click the ‘Add Note’ button when finished.
6. Save And Create Your Timesheet(s)
Once you’ve completed you Timesheet, click the ‘Save Timesheet’ button at the top of the main screen on the right hand side.
Your Timesheet(s) will be created and applied to your chosen settings.